
Halloween Home Refresh · 15% OFF
Ends in

Find your color. Imagine the change.

Scene preview coming soon
* Illustrative color previews. Lighting, surface texture and your screen affect appearance. Test a hidden area first.


Refresh Your Appliances. Keep What Works.

For Compatible Appliance Exteriors

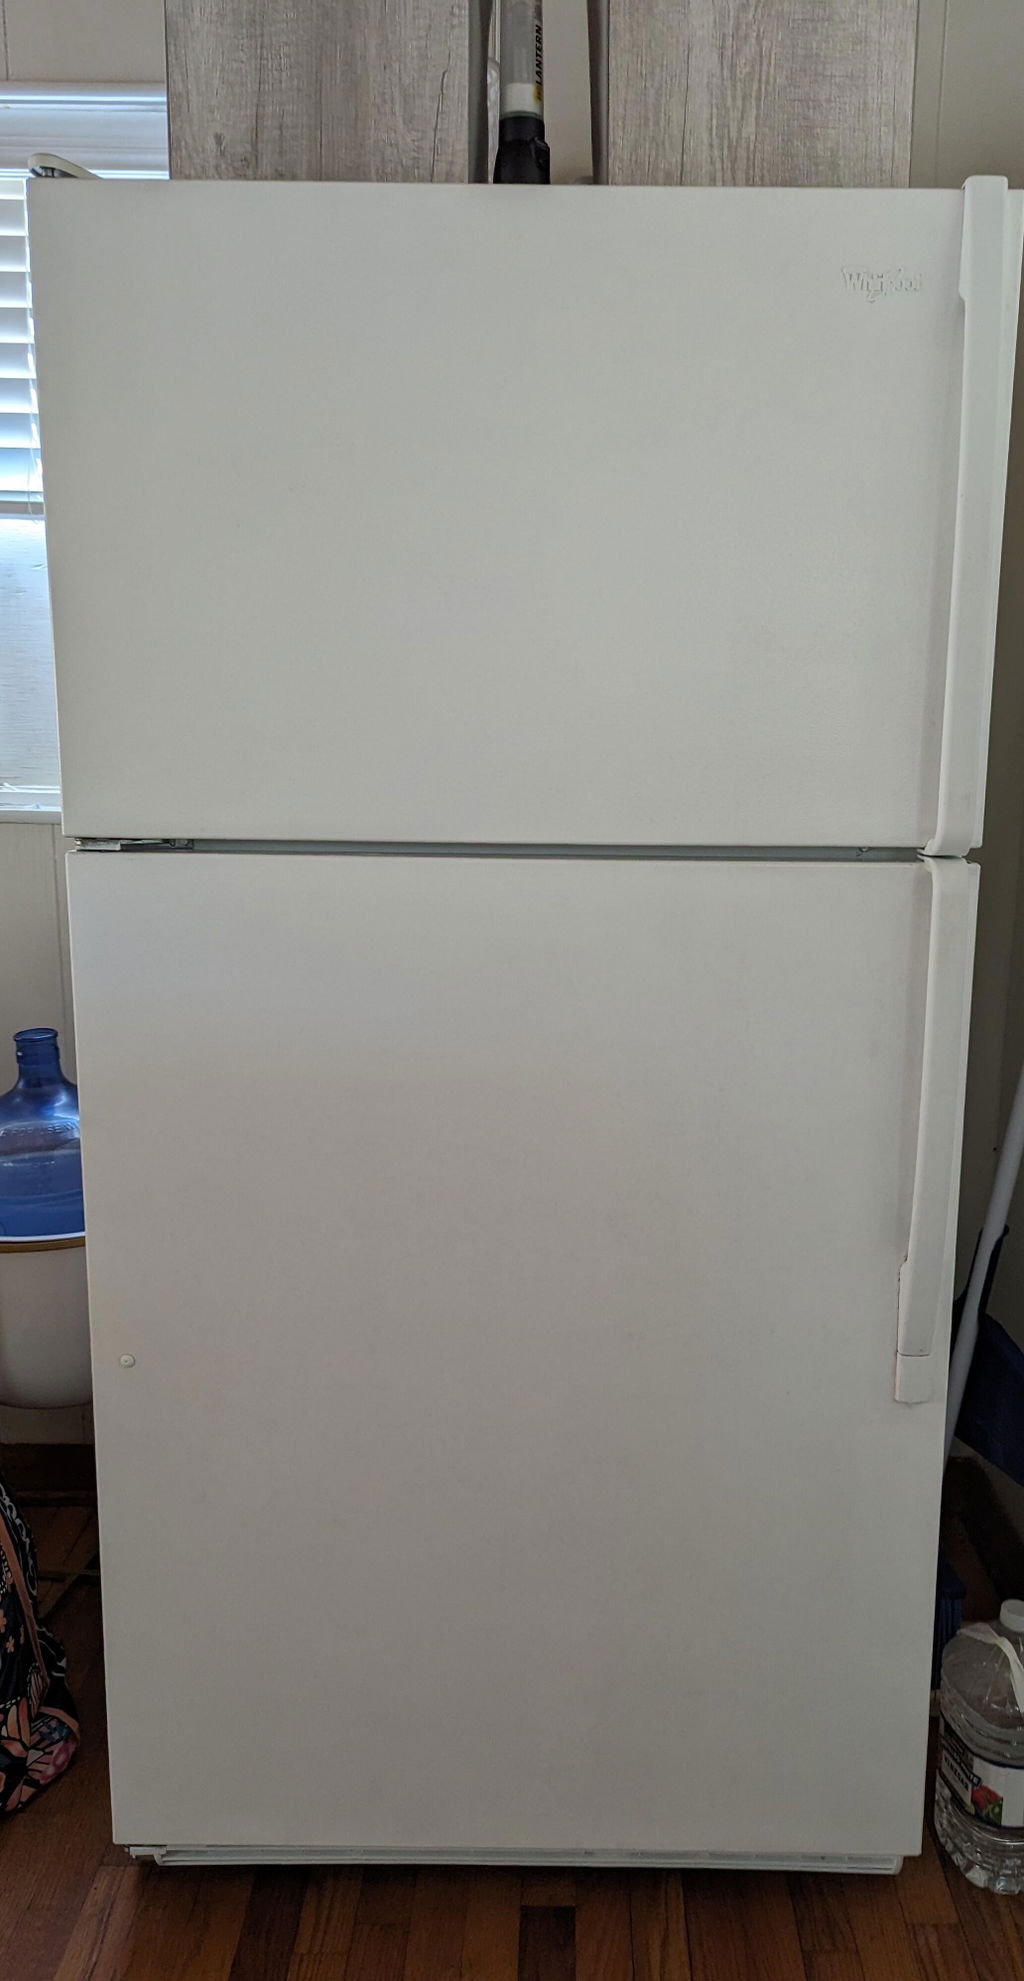
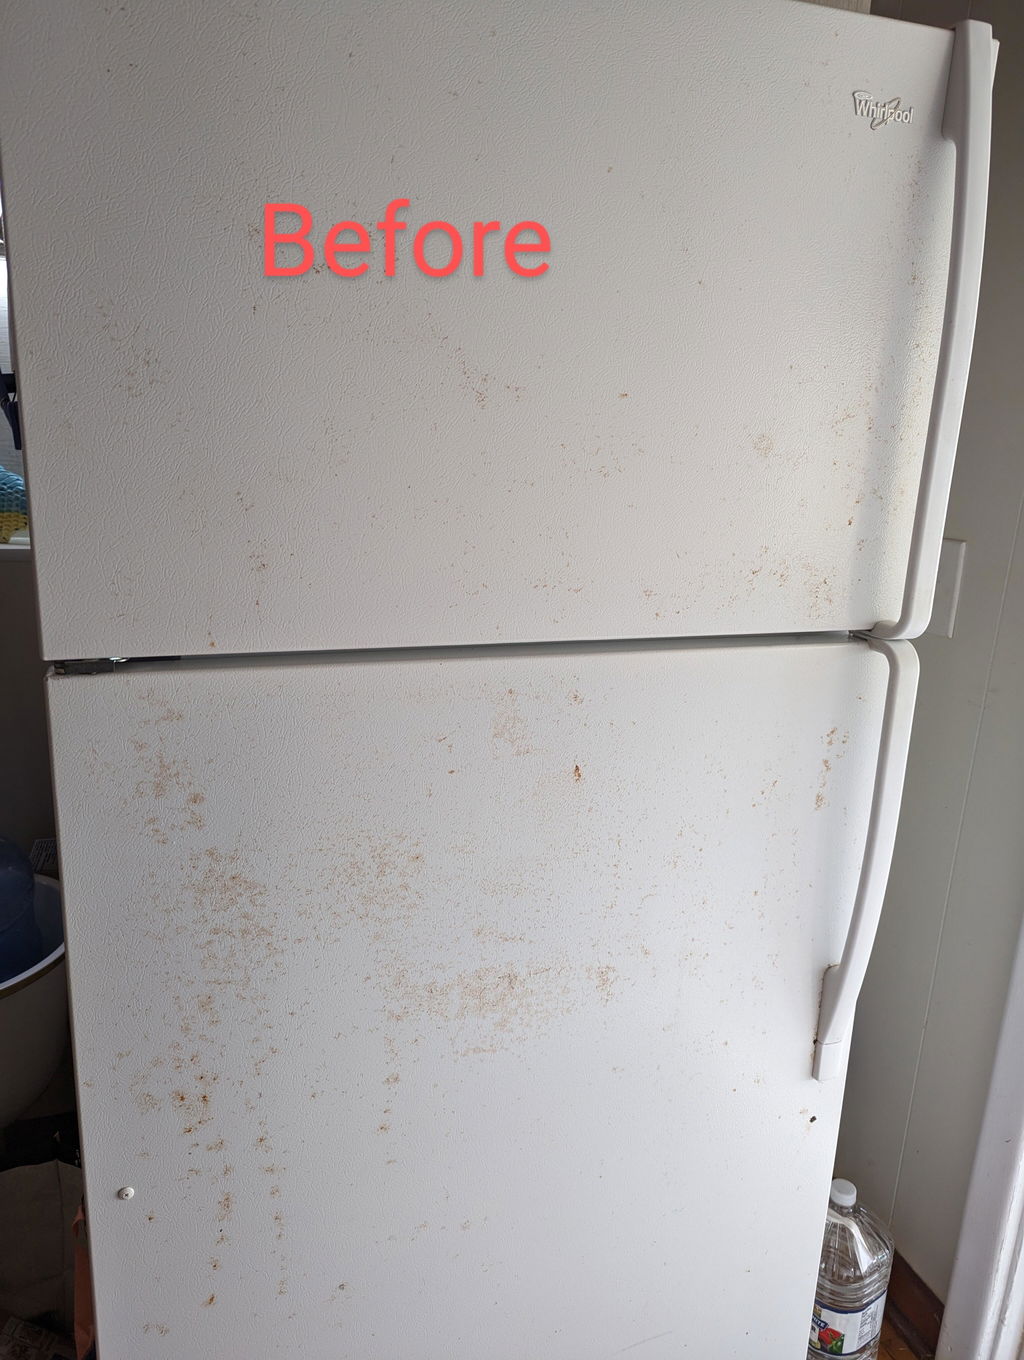
Picture a Fresh Start

How to Apply
A little prep makes the difference. Stir, apply thin coats, then give the finish time to cure.
-
 01
Clean, Sand & Mask
Clean and degrease the exterior. Remove rust and loose paint, lightly sand, wipe away dust and let dry. Mask handles, seals, controls and surrounding areas.
Start with a clean, dry, sound surface.
-
 02
Stir & Test
Stir the paint thoroughly until smooth and uniform. Test a small, hidden area for adhesion, color and appearance before coating the whole panel.
Single-component paint. No hardener needed.
-
 03
Roll on Thin Coats
Wear gloves. Roll flat panels and brush edges using smooth, even strokes. Start with two thin coats; add another if the old color still shows.
Wait about 2 hours between coats; recoat only when dry.
-
 04
Let the Finish Cure
Leave the coating undisturbed in a ventilated room. Avoid rubbing, scratching or washing while it hardens. Follow the appliance maker’s operating instructions.
Touch-dry: 1–2 hours. Light use: 24 hours. Normal use: 7 days.


What's in the Box

- Appliance Paint — 1 kg (32 oz) × 1
- Foam Paint Roller × 1
- Paint Brush × 1
- Stirring Stick × 1
- Painter’s Tape × 1
- Masking Film × 1
- Sanding Sheets × 2
- Disposable Gloves × 1 Pair
Frequently Asked Questions
1. Which parts of my appliance can I paint?
Use on compatible metal and plastic exterior panels of refrigerators, washers, dryers, dishwashers and air conditioners. Prepare and test a hidden area first. Keep paint off interiors, food-contact areas, seals, controls, vents, labels and moving parts. Do not use on stovetops, oven interiors or flame-exposed areas.
2. Can I paint stainless steel, chrome or plastic?
Stainless steel and chrome are not recommended. The manual includes metal and plastic appliance surfaces, but not every plastic or original finish is compatible. Identify the material, prepare it and test a small area first. Do not use on walls, wood or ceramic. Contact us about unknown materials before painting.
3. Will the finish match the factory coating?
A brush or roller can leave a different surface texture from a factory-sprayed finish. Use thin, even coats and avoid overworking partially dry paint. Test the color and appearance first. Handles and trim need their own material check; a matching appliance color does not prove those parts are paintable.
4. Can I paint over rust, peeling paint or dents?
Remove rust and corrosion, remove unstable coating, and smooth rough areas before painting. The surface must be clean, dry and sound. New paint does not repair dents or stabilize a failing layer underneath. Deal with damage first and test the prepared surface before coating the whole panel.
5. What should I plan before painting a rental appliance?
Get the owner’s approval before changing a rental appliance’s finish. Plan access, food storage or laundry arrangements around drying and curing. Follow the appliance manufacturer’s instructions for shutdown, access and reassembly; painting does not change those operating requirements.
6. Do I need to sand, and how many coats should I apply?
Yes. Clean and degrease first, lightly sand with fine paper such as 220-grit, and remove all dust. Start with two thin coats; add another if coverage needs it. Wait about 2 hours between coats and recoat only when dry. Work with ventilation at 60–90°F (15–32°C).
7. How much paint do I need?
One 1 kg (32 oz) kit covers about 50 sq. ft. with two coats. Coverage is the same for White, Black and Foggy Gray. Measure the actual panels and edges you plan to paint. Dark base colors, additional coats, surface texture and application waste reduce coverage.
8. When can I use the appliance again?
The manual distinguishes touch-dry, light use and normal use. Touch-dry is generally 1–2 hours; allow 24 hours before light use and 7 days before normal use. Temperature and humidity affect these times. Follow the appliance maker’s operating instructions and avoid rubbing or cleaning the fresh coating while it cures.
9. Do I need hardener or extra painting tools?
No hardener is needed. Stir the single-component paint thoroughly before use. Each kit includes one 1 kg (32 oz) paint bucket, a foam roller, brush, stirring stick, painter’s tape, masking film, two sanding sheets and one pair of gloves. Have cleaning supplies ready. Clean tools promptly with water.