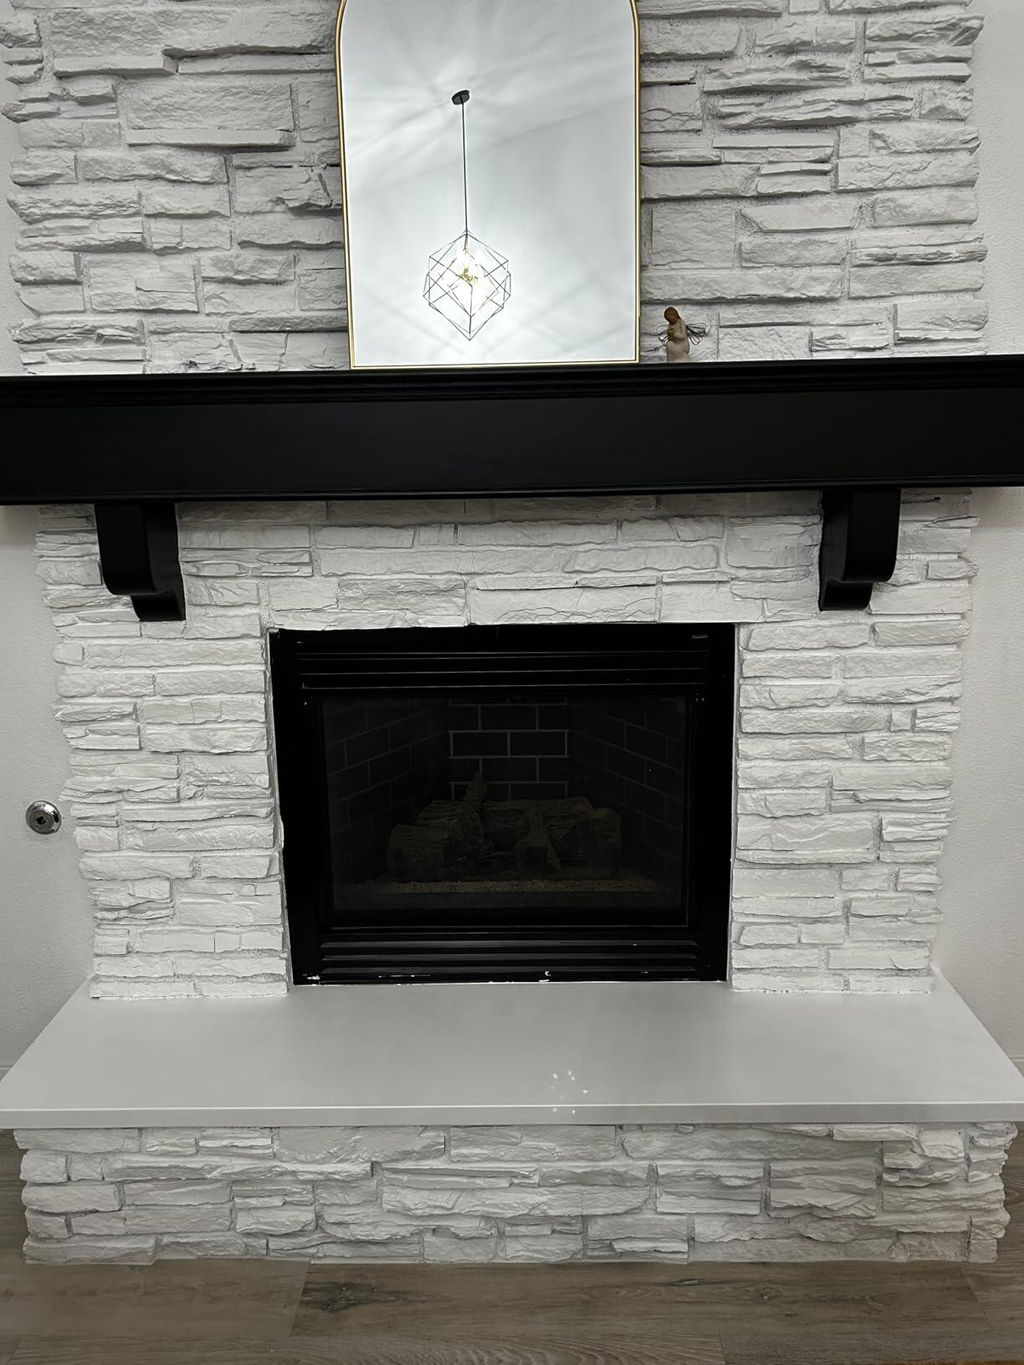
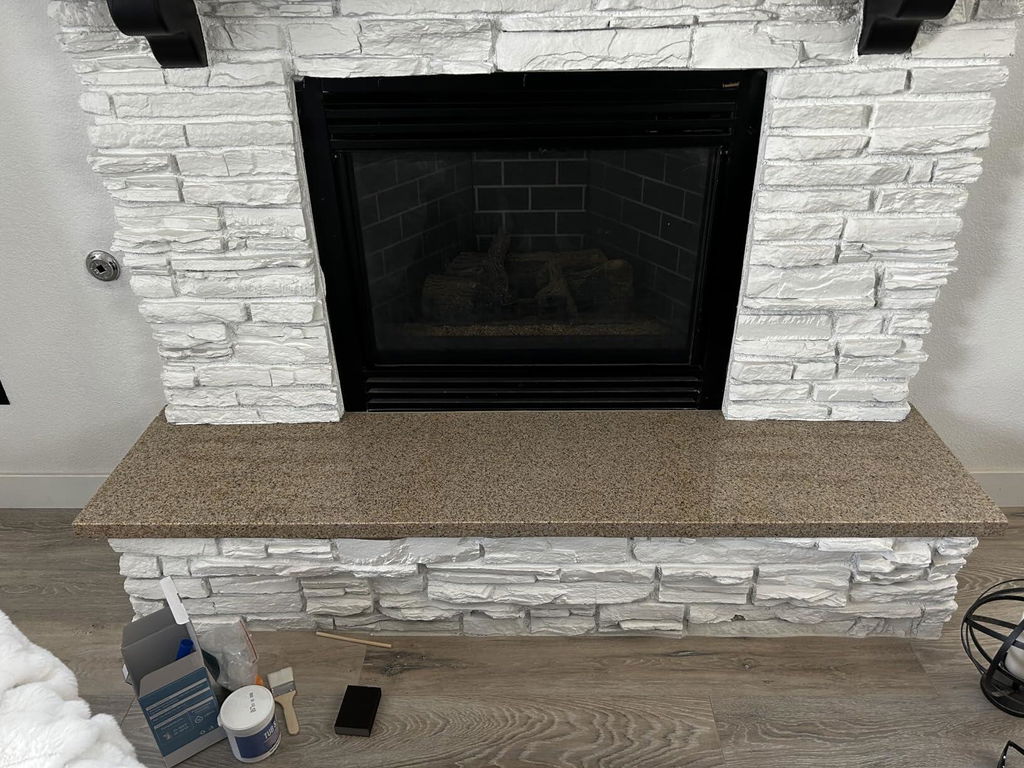
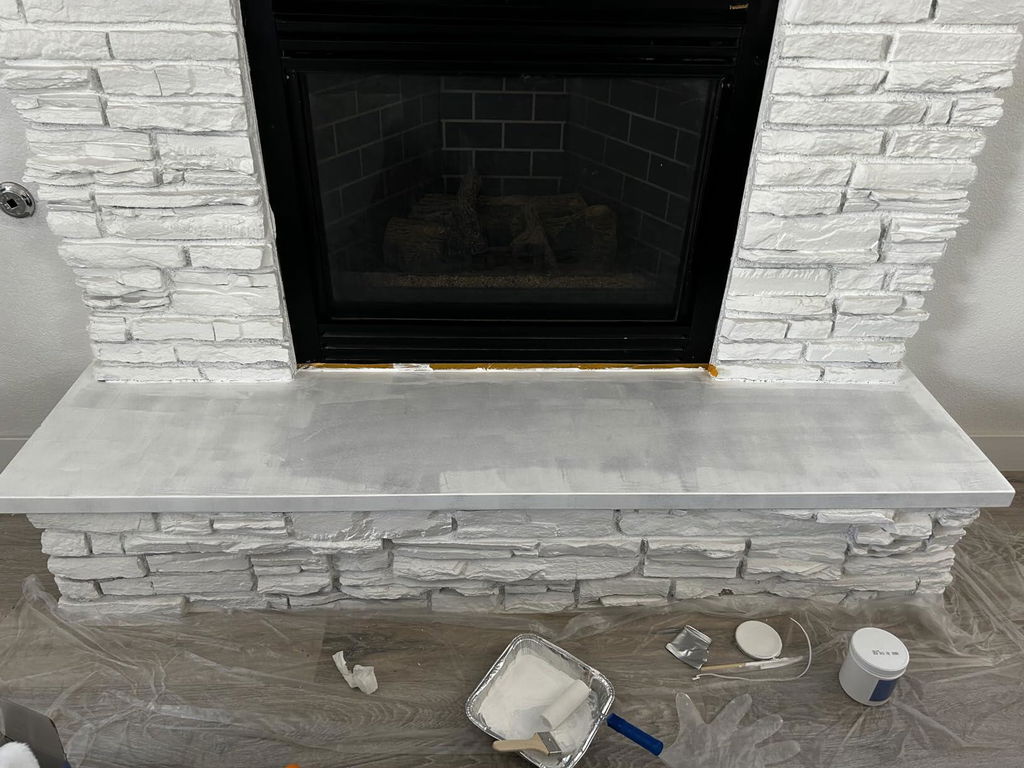
DWIL Water-Based Tub & Tile Refinishing Kit with Tools

DWIL Water-Based Tub & Tile Refinishing Kit with Tools

White / ‎Bathtub kit/50sq.ft

$59.99
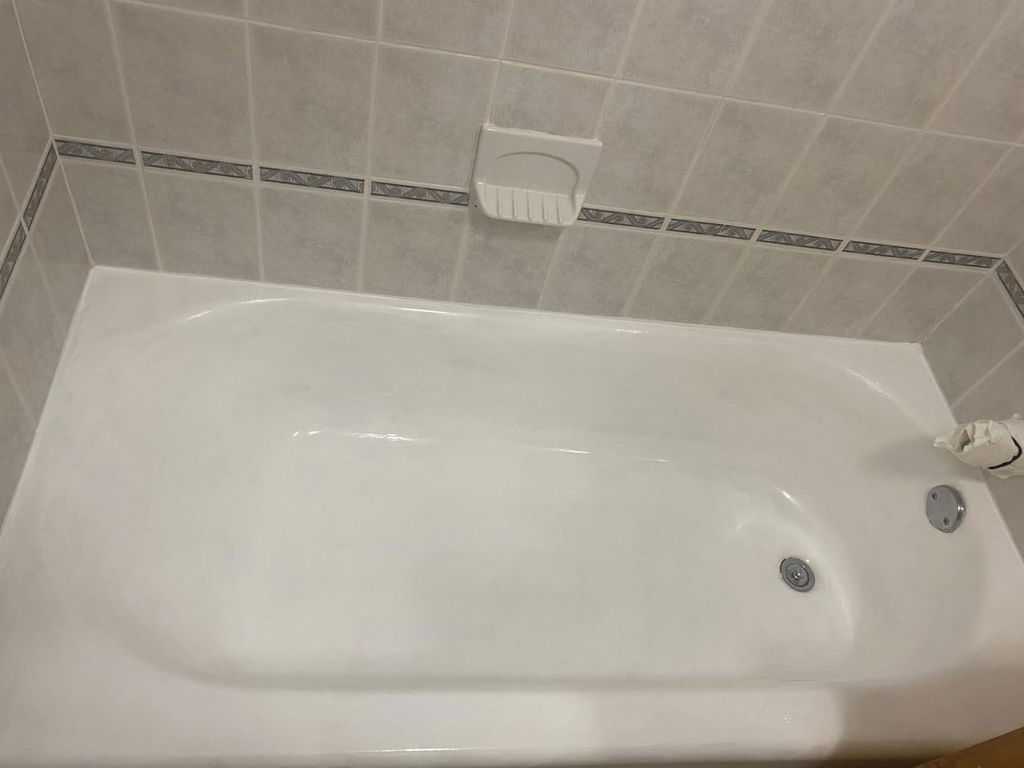
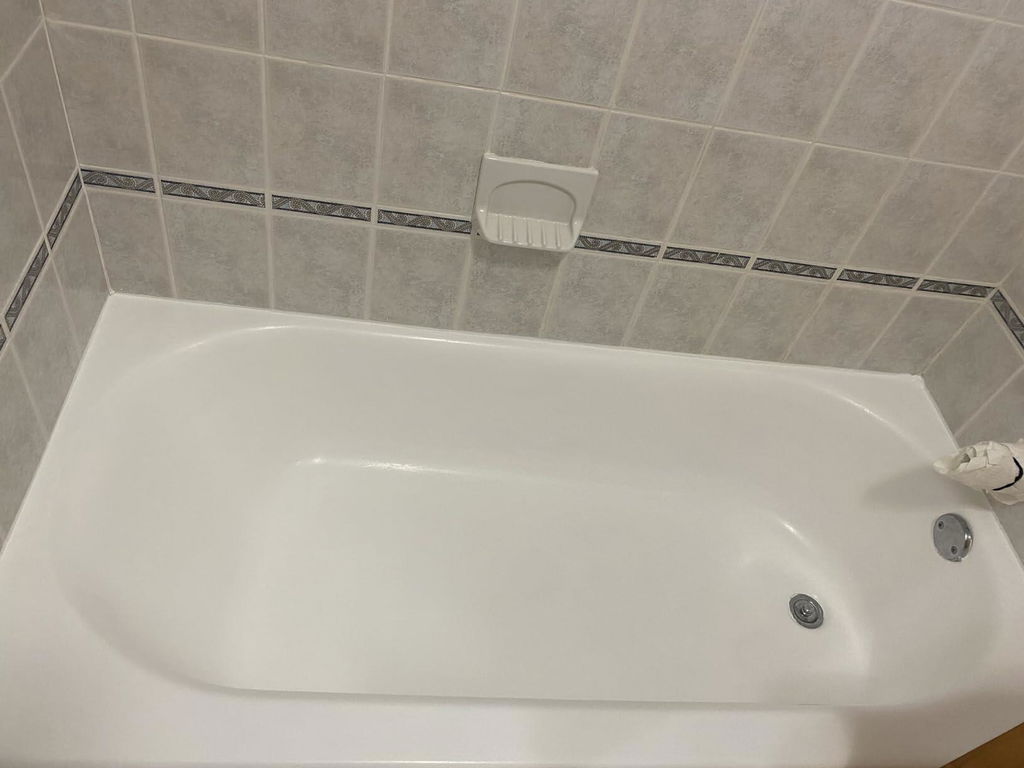
Refinished bathroom tiles after a DIY tile paint makeover.

Built for a Better Bathroom Refresh

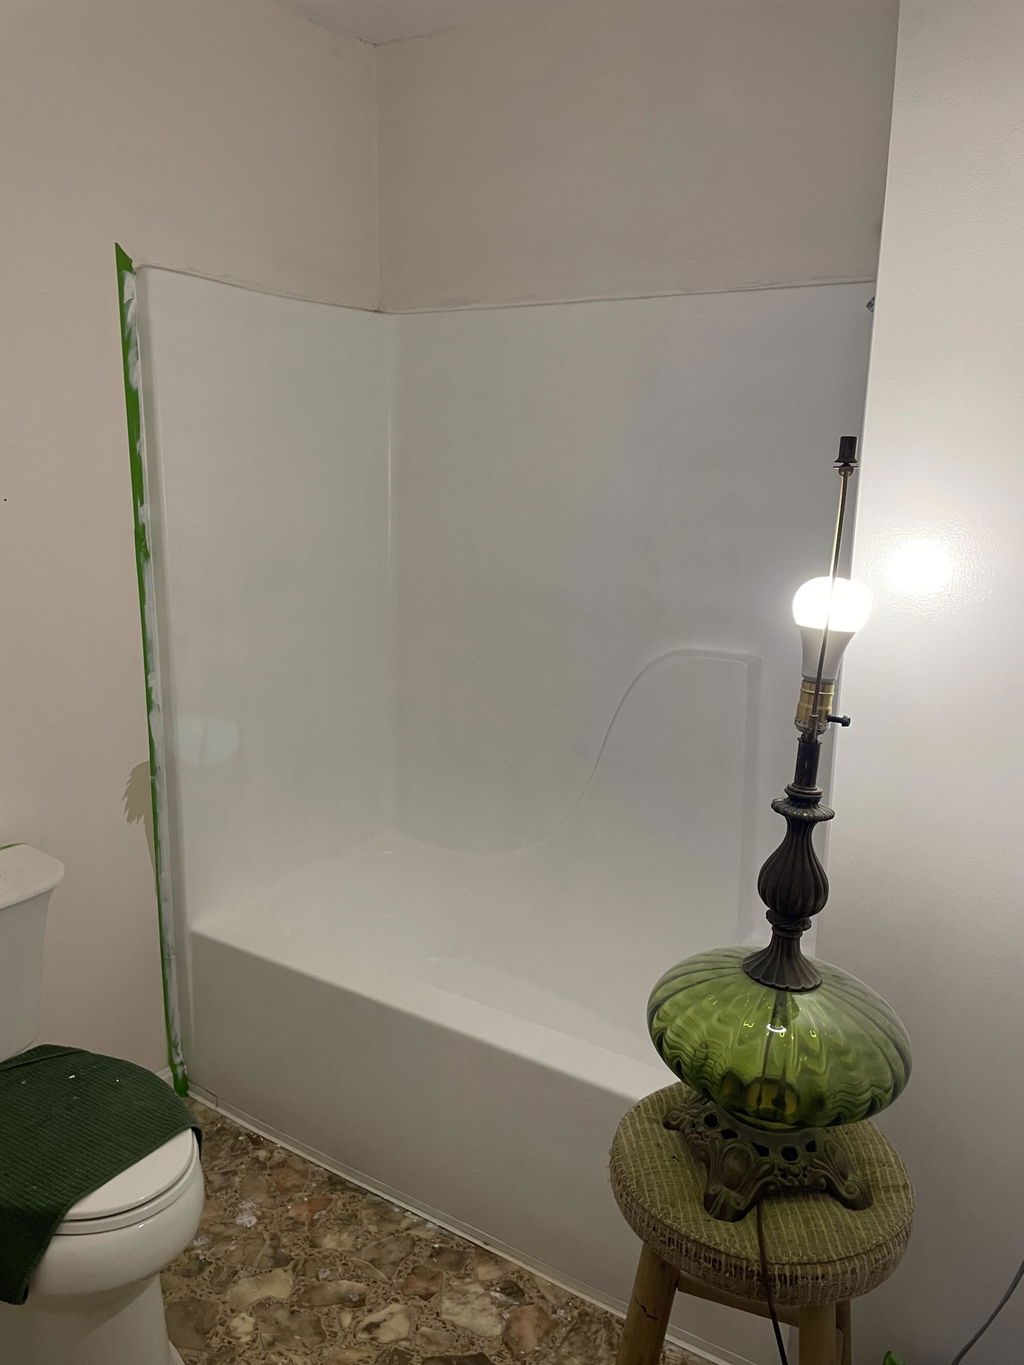
Refreshed bathroom finished with DWIL Tub and Tile Refinishing Kit

Made for More Than Just Tile

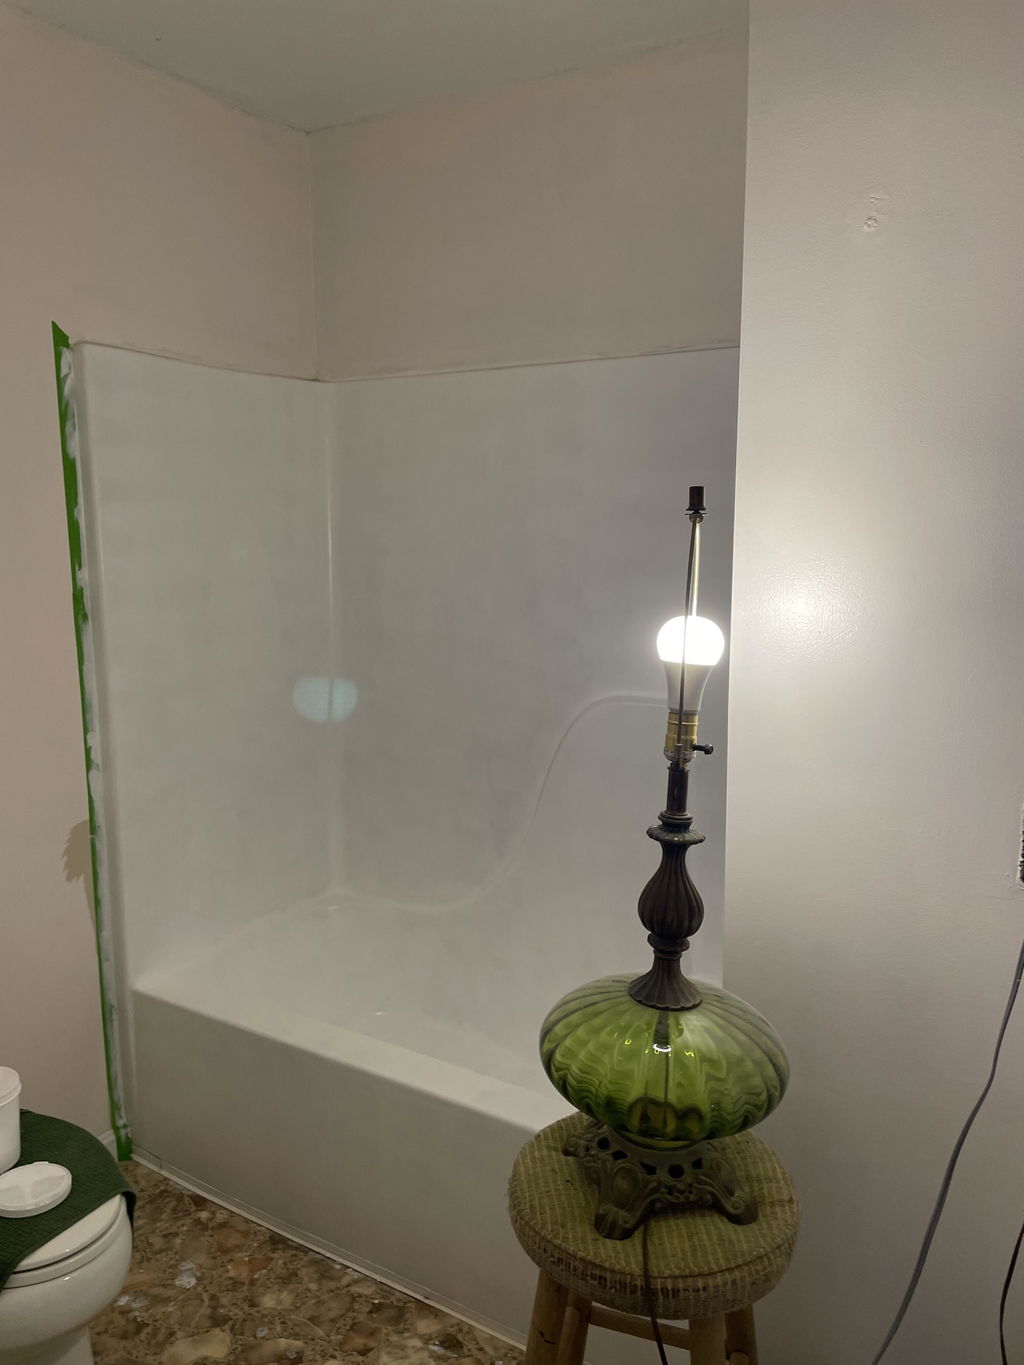
A comfortable family bathroom refreshed with low VOC and low odor DWIL paint

How to Apply

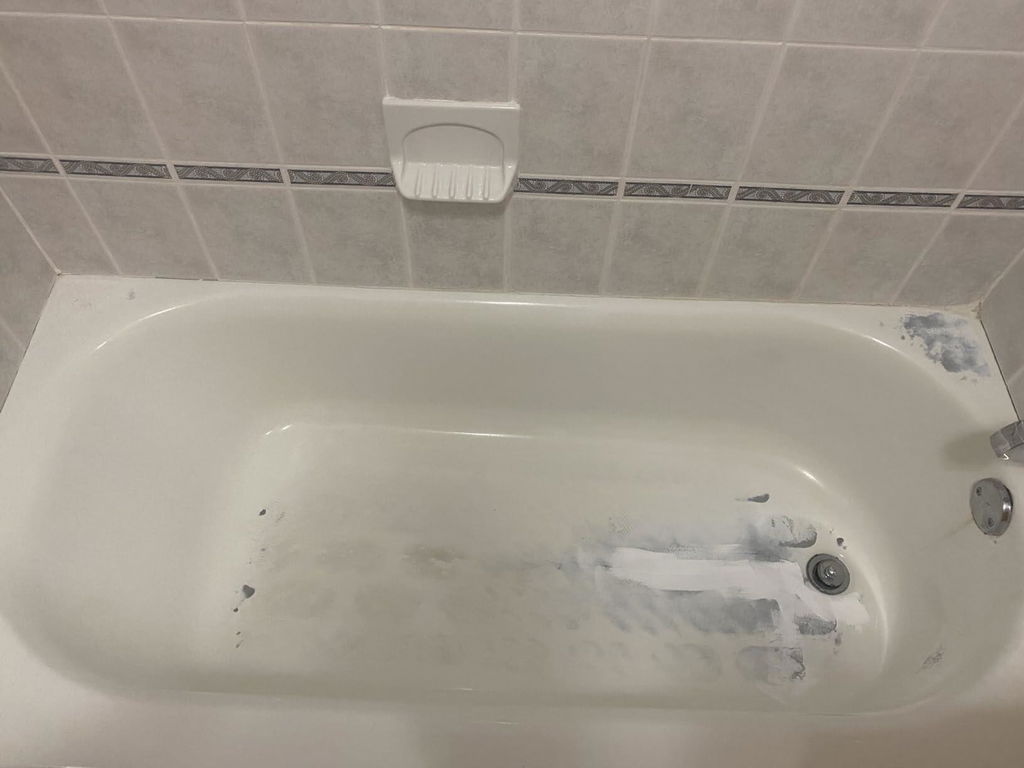
  1. Preparing and cleaning a bathroom surface before applying DWIL paint
    01

    Prepare & Protect

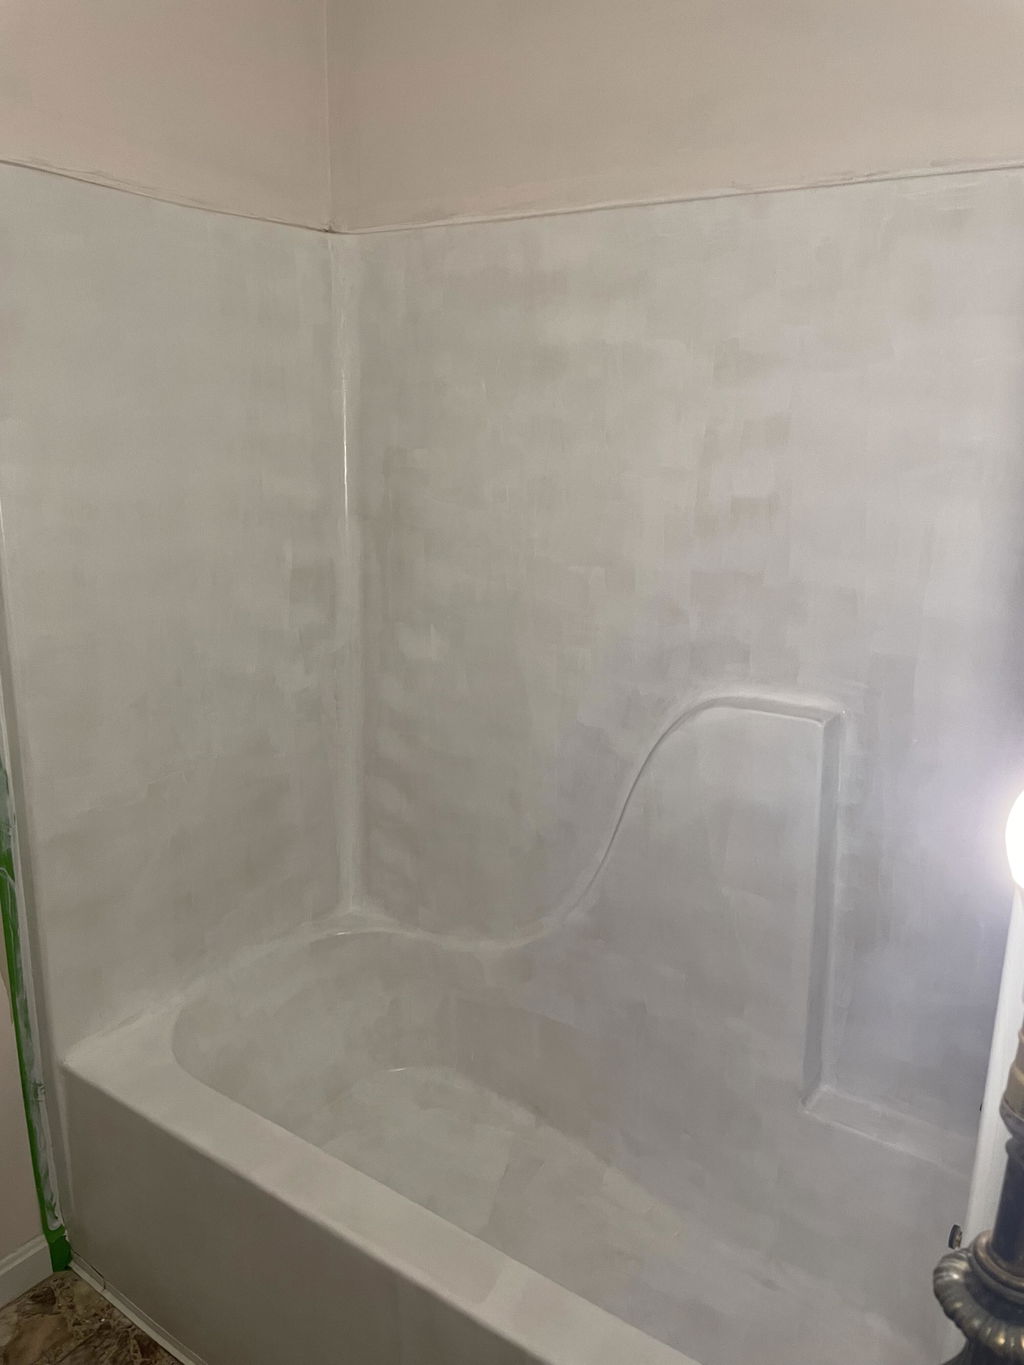
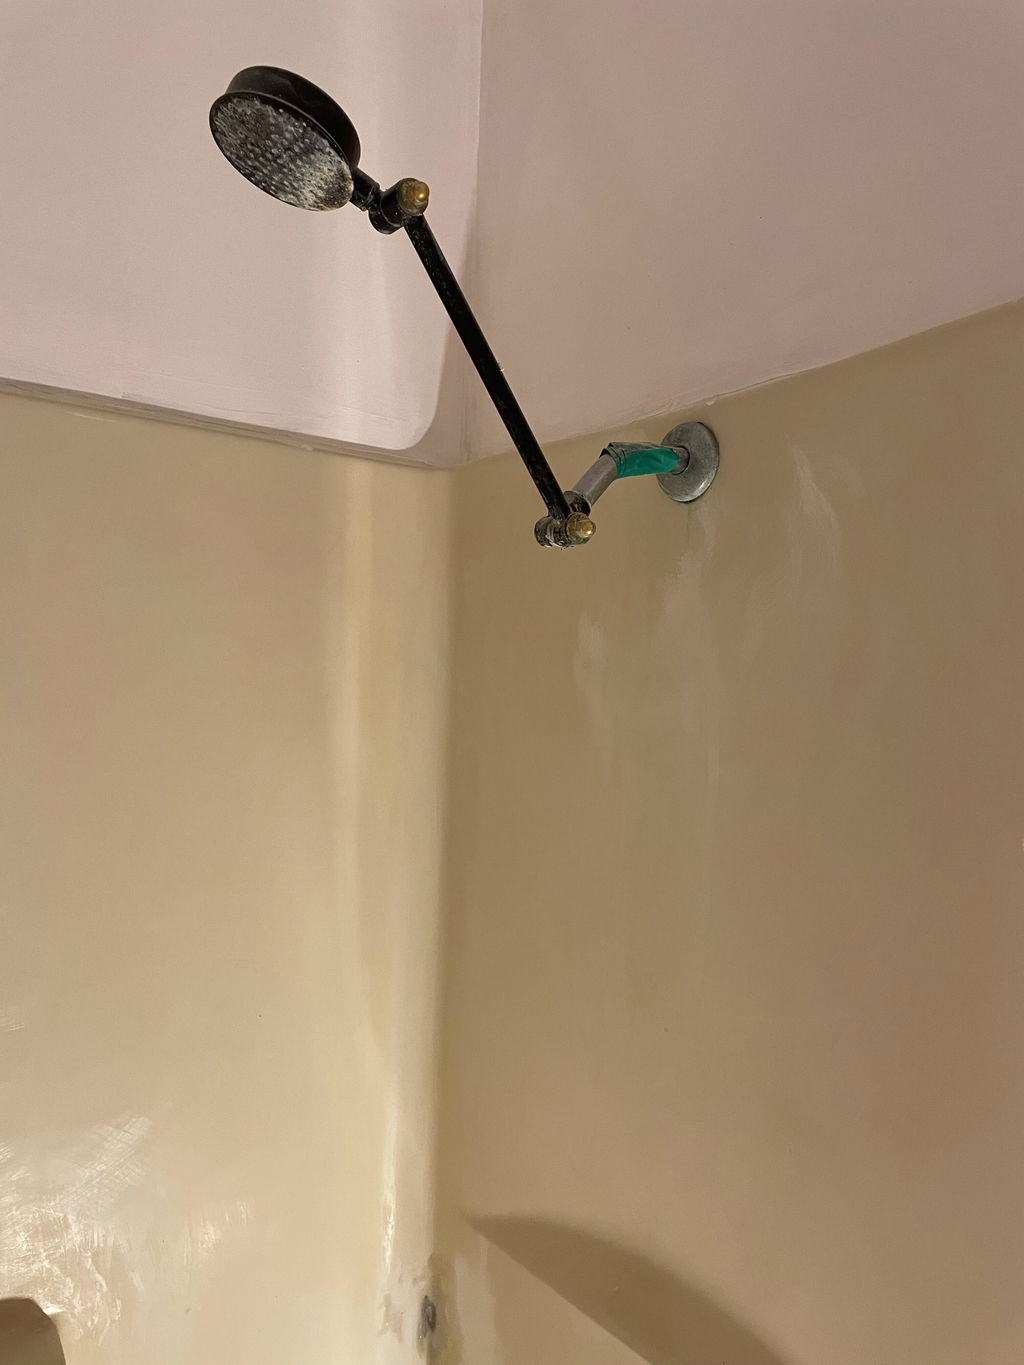
    Clean and dry the surface, remove loose paint and dirt, lightly sand smooth surfaces, and protect nearby areas with the included masking film and tape.

    Remove all sanding dust before painting.

  2. Mixing Part A refinishing paint with Part B hardener
    02

    Add Hardener

    Pour Part B hardener into Part A paint and mix thoroughly. If mixing a partial batch, keep the correct paint-to-hardener ratio.

    Use the mixed paint within 12 hours.

  3. Applying thin even coats of DWIL paint with a roller or brush
    03

    Roll or Brush

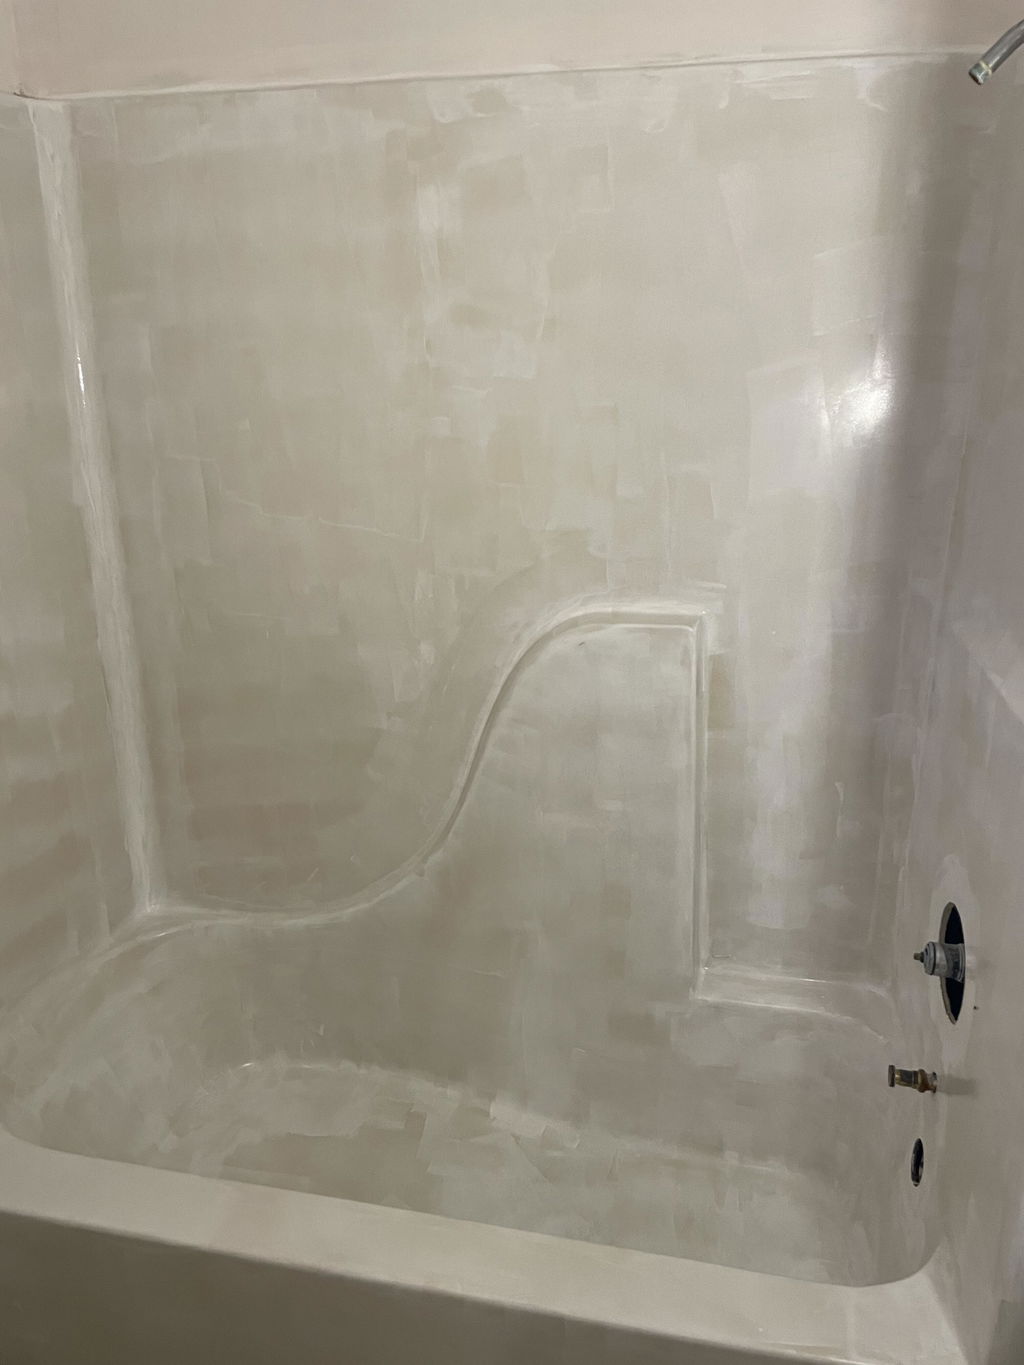
    Wear gloves and apply at least 2 coats. Use the roller on wide, flat surfaces and the brush for corners, edges, and gaps.

    Allow at least 2 hours between coats.

  4. Finished bathroom surface ventilating and curing after painting
    04

    Dry & Cure

    Let the coating air dry naturally with adequate ventilation. Avoid direct fan airflow and keep the surface free from water or abrasion while it dries.

    Keep dry for 48 hours; wait 7 days before normal use.

What's in the Box

Contents included with the DWIL Tub and Tile Refinishing Paint Kit
  1. Tub & Tile Refinishing Paint × 1
  2. Hardener × 1
  3. Painter's Tape × 1
  4. Sanding Sheets × 2
  5. Disposable Gloves × 1 Pair
  6. Pre-Taped Masking Film × 1
  7. Foam Paint Roller × 1
  8. Paint Brush × 1
  9. Instruction Manual × 1

Frequently Asked Questions

1. Is this kit right for my bathtub, sink, or tile project?

Yes. This kit is designed for refreshing properly prepared porcelain, ceramic, fiberglass, acrylic, and porcelain-enameled cast-iron surfaces, including tubs, sinks, tile walls, backsplashes, and similar hard surfaces.

Do not apply over active rust, deep cracks, loose enamel, peeling coatings, silicone caulk, or a damp surface. Repair or remove unstable material before refinishing.

2. Do I need a separate primer or extra application tools?

Most compatible, properly prepared surfaces don't need a separate primer. Additionally, the kit includes the core application essentials: coating, hardener, roller, brush, sandpaper, masking supplies, gloves, and step-by-step instructions.

Depending on your surface condition, you may still need cleaning supplies, a caulk-removal tool, and materials to repair chips, rust, cracks, or loose coating before painting. Thorough cleaning, light sanding, dust removal, and complete drying are essential for adhesion.

See "In the Box" above for the full contents of your selected kit.

3. How much area does each kit size cover?

Choose your kit by total surface area, based on the recommended two-coat application.

  • Sink Kit: about 25 sq. ft. for one standard sink, a small vanity, or small tile areas
  • Bathtub Kit: about 50 sq. ft. for one standard bathtub or a small shower area
  • 2-Pack Bathtub Kit: about 100 sq. ft. for a tub plus surrounding tile, a shower surround, or multiple small projects
  • 3-Pack Bathtub Kit: about 150 sq. ft. for larger surrounds, larger tile areas, or multiple projects

Actual coverage varies with texture, color contrast, surface condition, and coat thickness. Not sure which size fits? Send us a project photo through chat for a coverage recommendation.

4. Do I need to sand before painting?

Yes. Light sanding is a key adhesion step on glossy, glazed, or slick surfaces. It removes surface shine and creates a light texture that helps the coating grip.

After sanding, remove all dust and make sure the surface is clean and fully dry. Do not sand aggressively enough to damage the original surface.

5. How long does the project take, and when can I use the surface?

Plan for a full cure before normal bathtub or shower use.

  • Between coats: Wait at least 2 hours before applying the next coat.
  • Keep dry: Keep the finished surface dry for about 24–36 hours.
  • Normal use: Wait a full 7 days before using the bathtub or shower normally.

Until the full cure time has passed, avoid water, soaking, scrubbing, heavy cleaning, and items that may scratch the finish. Dry to the touch does not mean ready for water exposure.

6. Will the finish hold up in an everyday bathroom?

When properly prepared and fully cured, the coating is designed for everyday bathroom use. Long-term performance depends on a clean, dry, stable surface and allowing the full cure time before use.

For ongoing care, use a mild non-abrasive liquid cleaner with a soft sponge or microfiber cloth. Avoid scouring powders, steel wool, harsh acids, aggressive bleach-based cleaners, and suction-cup bath mats.

7. Can I paint over old bathtub paint or a previous refinishing?

For the most reliable result, remove old or previously refinished coating before painting.

If you choose to apply the coating over an existing one, ensure that the coating is water-based, fully cured, firmly bonded, and in sound condition. It must be clean, dry, and free of peeling, bubbling, cracking, or chalking.

Do not coat over oil-based paint, an unknown finish, or any loose or failing layer. If you cannot confirm what is already on the tub, remove the old coating and prepare the original surface.