Fall Interior Refresh · 15% OFF

DWIL Water-Based Frosted Glass Paint Kit – 16/32 ozWater-Based Frosted Glass Paint Kit – 16/32 oz

4 reviews

Regular price $29.99 Sale price $25.50
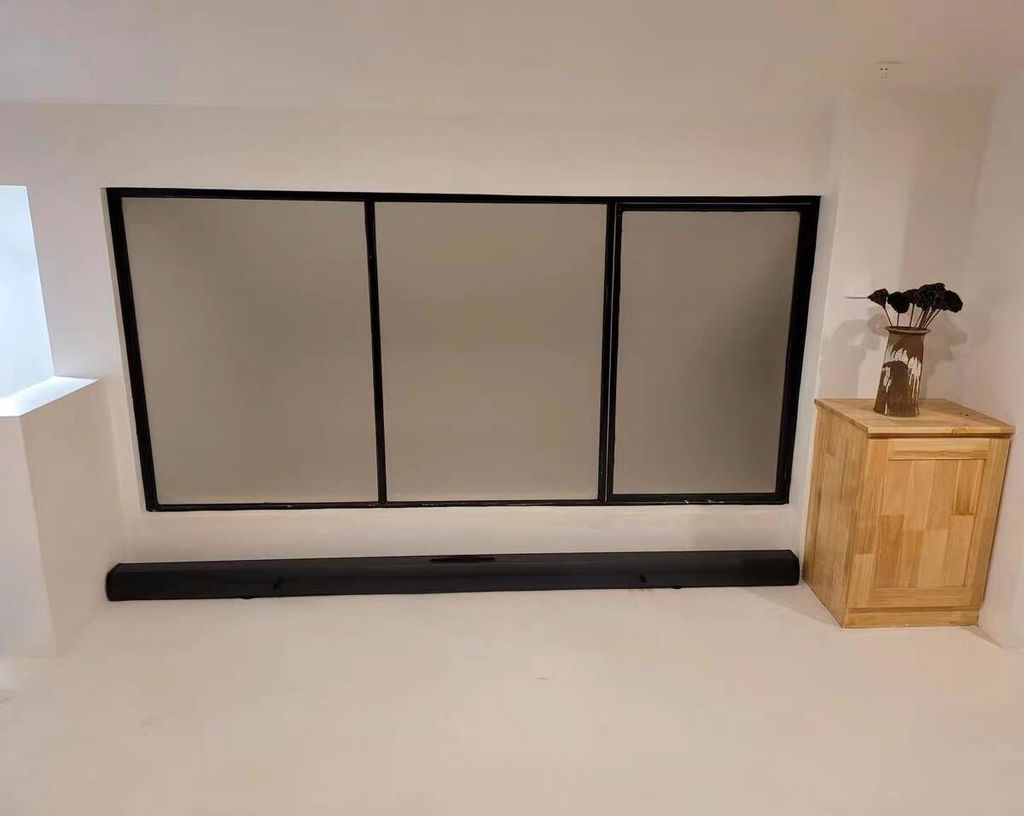
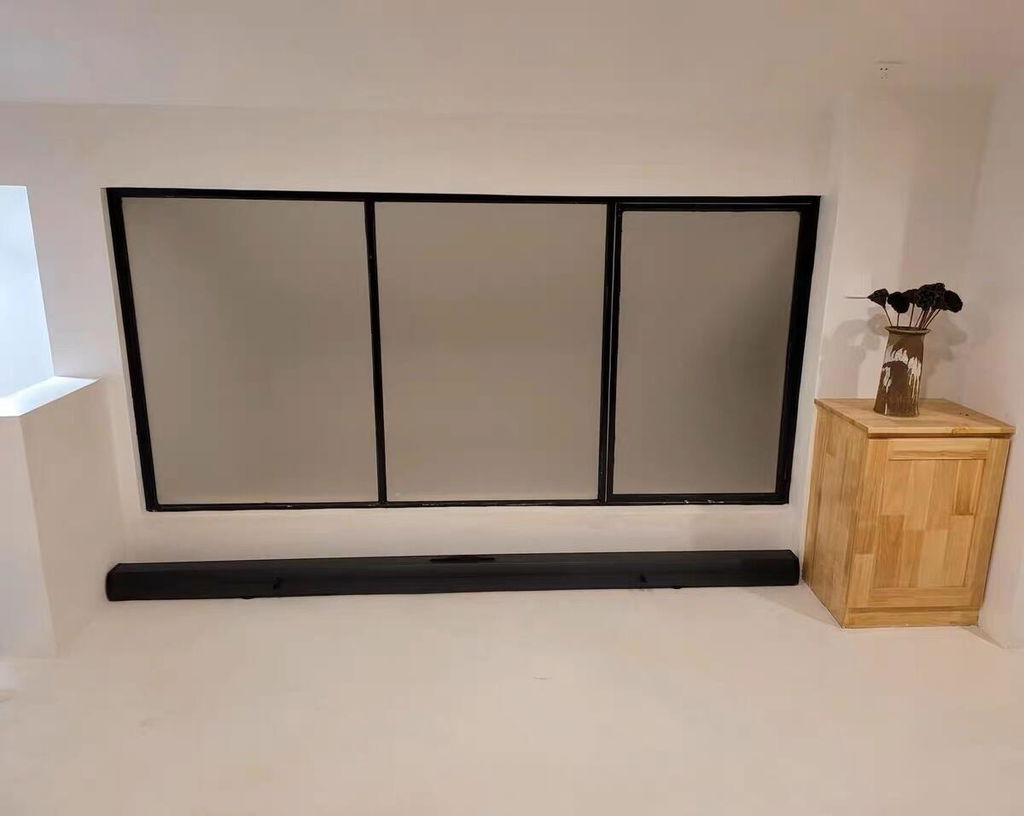
DWIL Frosted Glass Paint kits in front of frosted interior glass doors.
  • Privacy with Natural Light
  • Low Odor
  • Tools Included
DWIL Frosted Glass Paint kits in front of frosted interior glass doors.

DWIL Water-Based Frosted Glass Paint Kit – 16/32 oz

16 oz · 500 g · 25 sq. ft.

Regular price $29.99 Sale price $25.50

Soften the View. Keep the Natural Light.

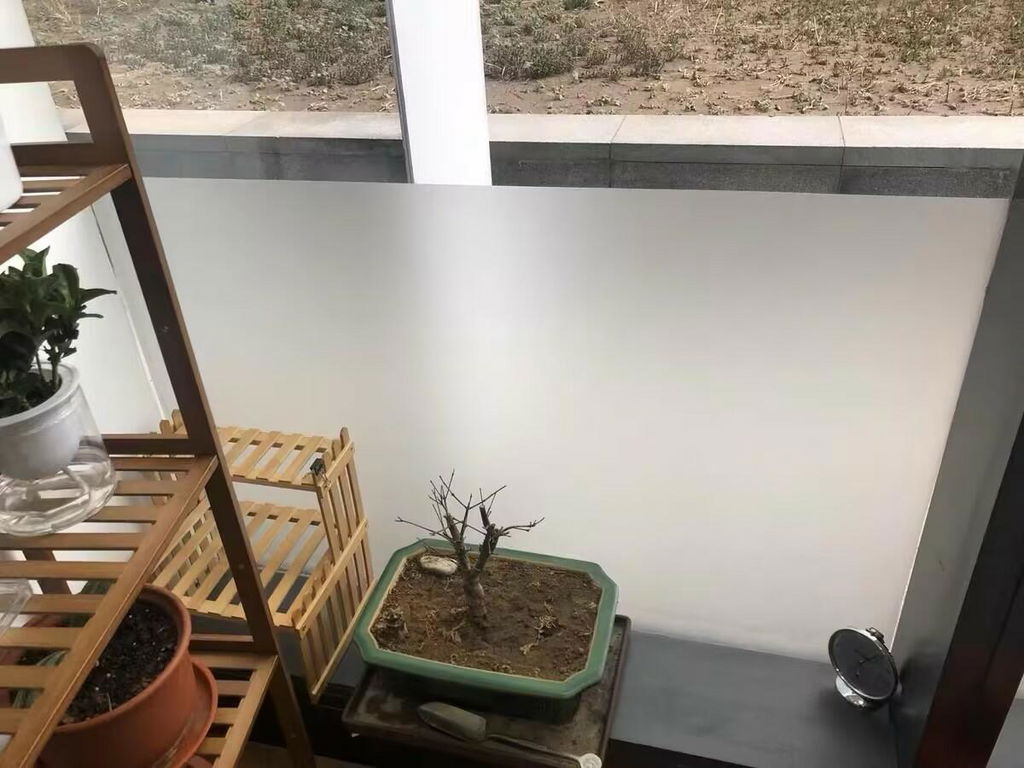
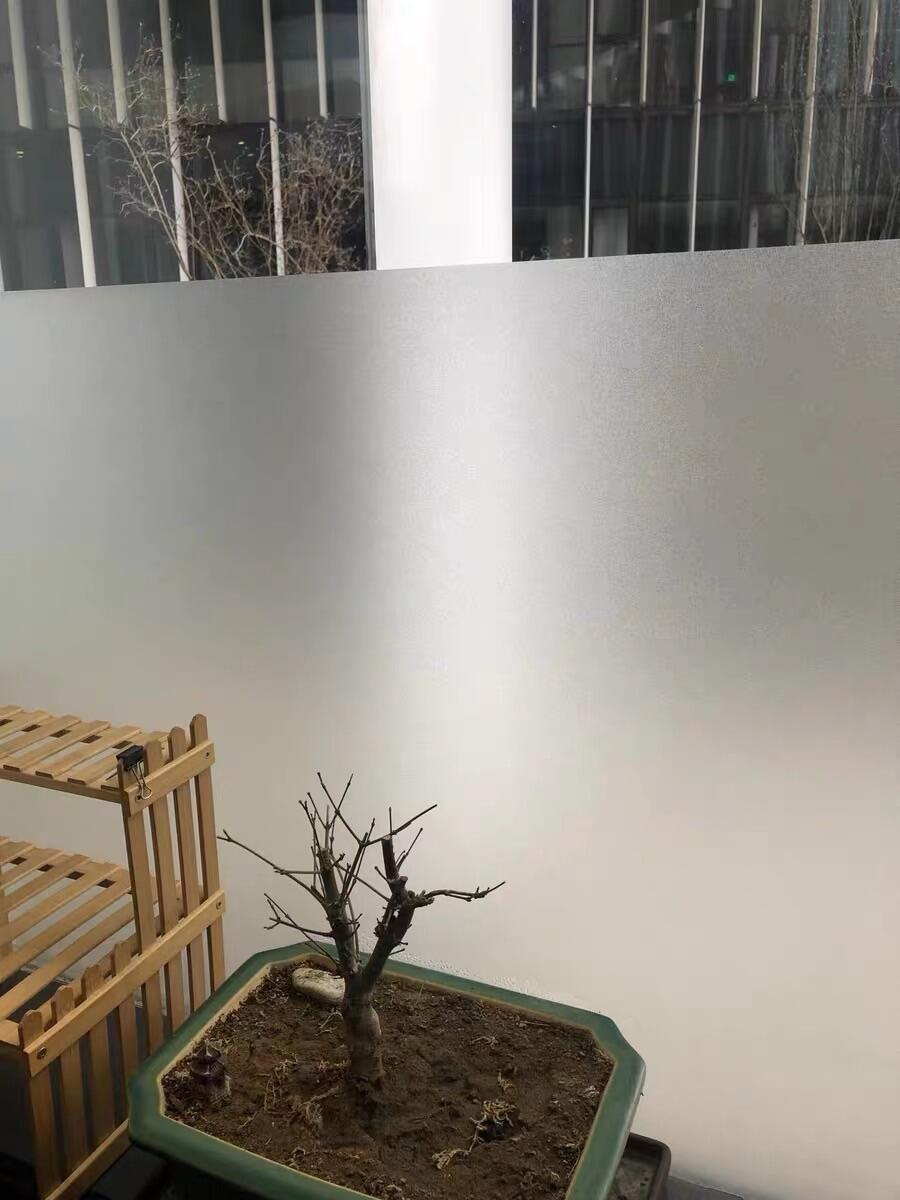
Existing glass refreshed with a translucent frosted privacy finish

Choose the Right Indoor Glass Surface

Made for Privacy in Every Room

A Frosted Finish for Everyday Spaces

Built for Real Life

How to Apply

  1. Cleaning and drying glass before applying DWIL Frosted Glass Paint
    01

    Clean, Dry & Mask

    Clean and degrease the glass thoroughly, rinse with clean water, and dry completely. Mask frames and protect nearby surfaces before painting.

    Work in a ventilated space at 60–90°F.

  2. Applying DWIL Frosted Glass Paint in thin even coats with a foam roller
    02

    Stir & Apply Thin Coats

    Stir the paint thoroughly for 2–3 minutes, then roll from top to bottom with long, even strokes. Apply at least two thin coats.

    Allow 1.5–2 hours between coats.

  3. Allowing DWIL Frosted Glass Paint to dry for 24 hours before light use
    03

    Keep Dry for 24 Hours

    After the final coat, keep the glass dry and avoid cleaning, abrasion, or direct water exposure while the finish develops.

    Ready for light use after 24 hours.

  4. Finished frosted glass window after applying DWIL Frosted Glass Paint
    04

    Allow the Finish to Cure

    Allow about 7 days before normal use and gentle cleaning. Once cured, check privacy from both sides in daytime and with room lights on at night.

    Full cure develops in approximately 7 days.

What's in the Box

Tools included with the DWIL Water-Based Frosted Glass Paint Kit
  1. Frosted Glass Paint × 1
  2. Sanding Sheets × 2
  3. Disposable Gloves × 1 Pair
  4. Painter's Tape × 1
  5. Pre-Taped Masking Film × 1
  6. Foam Paint Roller × 1
  7. Printed Instruction Manual × 1

Frequently Asked Questions

1. Will it give me privacy at night?

The translucent finish softens the view, but privacy changes with lighting, viewing distance and the applied coating. Silhouettes, shadows or movement may still be visible when indoor lights are bright or someone stands close to the glass.

Test the finished result from both sides in daylight and with room lights on at night. If you need to block silhouettes beside a shower, toilet or changing area, use a curtain or blind as well.

2. Will the room still get natural light?

Yes. The frosted finish lets light pass through while softening the clear view. You will not retain the same clear view outside, and the effect works from both sides.

Brightness depends on the glass, room lighting and applied coats. More paint can reduce light; apply thin, even coats rather than using a heavy layer to chase complete privacy.

3. How much paint should I order?

The 16 oz (500 g) kit covers about 25 sq. ft. with 2 coats. The 32 oz (1 kg) kit covers about 50 sq. ft. with 2 coats.

Measure the width and height of each glass panel, multiply to get its area, and add the panels together. Measure the glass only, not the frames. Choose by total glass area rather than a fixed number of windows. Additional coats and application losses reduce coverage.

4. Which side of the glass should I paint?

For residential windows, paint the interior side. On shower glass, use the side with less direct water exposure. Suitable indoor projects include windows, sidelights, glass doors, partitions and glass cabinets.

Do not use outdoors, on food-contact items or for continuous immersion. Confirm plastic, acrylic, plexiglass and specialty-coated glass before application, and test adhesion on a small area.

5. How do I avoid streaks and uneven coverage?

Clean and degrease the glass, rinse and dry it completely. Mask the edges and stir the paint for 2–3 minutes. Use the roller for long, even strokes from top to bottom.

Apply at least two thin coats, allowing 1.5–2 hours between coats. Avoid heavy buildup and repeatedly working an area as it starts to dry. Test a small section first to check the texture, light and privacy you want.

6. When can I clean it or use the shower?

Keep the finish dry for at least the first 24 hours. Light use after 24 hours is not the same as full cure; allow approximately 7 days before normal use or gentle cleaning.

Drying varies with temperature, humidity and thickness. On shower glass, keep the coating on the side with less direct water exposure. After full cure, use mild detergent and a soft cloth rather than abrasive pads or harsh cleaners.

7. Can I remove it later, and is it suitable for a rental?

This is a paint coating, not a peel-off privacy film. The manual describes removal, but the work involved and the effect on the surface depend on the glass, its coatings and nearby finishes. Contact us before attempting removal.

For rented homes, obtain permission and confirm restoration requirements before painting. If easy removal is essential, compare removable privacy products rather than assuming this finish can be peeled away without a trace.

8. How does it compare with privacy film or blinds?

Paint is applied directly to prepared glass and requires drying and curing. Choose it when you want a frosted coating and are comfortable with the preparation and ongoing care.

Film is fitted as a sheet; removal and performance depend on the specific film. Blinds or curtains let you adjust the view and light and can add nighttime screening. Choose by the privacy you need, the glass surface and whether you must restore it later.

9. What comes in the kit?

Your selected size of Frosted Glass Paint, 2 sanding sheets, 1 pair of disposable gloves, painter's tape, pre-taped masking film, a foam paint roller and a printed instruction manual are included.

Prepare suitable cleaning supplies and surface protection before starting, and follow the manual and SDS for protective equipment and ventilation. Low odor does not mean ventilation is unnecessary.